Database properties
Database properties add all kinds of context to your database items, like due dates, task owners, relevant URLs, last edited timestamps, and more. Use these properties to filter, sort, and search your data 🧩
Property | Description |
Text | Add text that can be formatted. Great for summaries, notes, and descriptions! |
Number | Accepts numbers. These can also be formatted as currency or progress bars. Useful for tracking counts, prices, or completion. |
Select | Choose one option from a list of tags. Useful for categorization. |
Status | Track this item’s progress using status tags categorized by To-do, In Progress, or Complete. |
Multi-Select | Choose one or more options from a list of tags. Useful for tagging items across multiple categories. |
Date | Accepts a date or a date range (time optional). Useful for deadlines, especially with calendar and timeline views. |
Formula | |
Relation | Connect databases and mention database pages. Useful for connecting items across your workspace. Learn more here → |
Rollup | View and aggregate information about properties from relation properties. Useful for summarizing interconnected data. Learn more here → |
Person | Tag anyone in your Notion workspace. Useful for assigning tasks or referencing relevant team members. |
File | Upload files and images for easy retrieval. Useful for storing documents and photos. |
Checkbox | Use a checkbox to indicate whether a condition is true or false. Useful for lightweight task tracking. |
URL | Accepts a link to a website and opens the link in a new tab when clicked. |
Accepts an email address and launches your mail client when clicked. | |
Phone | Accepts a phone number and prompts your device to call it when clicked. |
Created time | Records the timestamp of an item's creation. Auto-generated and not editable. |
Created by | Automatically records the person who created the item. Auto-generated and not editable. |
Last edited time | Records the timestamp of an item's last edit. Auto-updated and not editable. |
Last edited by | Records the person who edited the item last. Auto-updated and not editable. |
Button | Trigger actions based on the item properties. Learn more below. |
ID | Automatically creates a numerical ID for each item. IDs are unique and cannot be manually changed. Learn more here → |

Notion AI can save you time by autofilling certain types of database properties! Learn more here →
Database buttons
Database buttons automate your workflows so you don’t have to spend as much time manually updating your database. For example, you could use a button to approve a document or mark a daily habit as complete. Buttons can be added to your database as a property, and when a button is clicked, it’ll take actions on database pages so you don’t have to.
To add a database button property:
Select
•••at the top right of your database →Properties→New property→Button.Add a label for your button, like
ApproveorComplete.Add an action for your button. This is the action you want to have taken when the button is selected. Multiple actions can be taken using one button. You can select from:
Add page to...: This will add a page to a database of your choice.Edit pages in...: This will edit properties for pages in a database of your choice.Show confirmation: This will show a message to the person who has selected the button before any further action is taken. You could pair this with another action so that you can be more careful with edits made to your database.Open page: This will open a page from a database of your choice. You can also decide how the page will open on the screen.Send Slack notification to...: This will send a Slack notification to the Slack channel of your choosing.

Want more real-life examples of how to use database buttons? Read this guide →
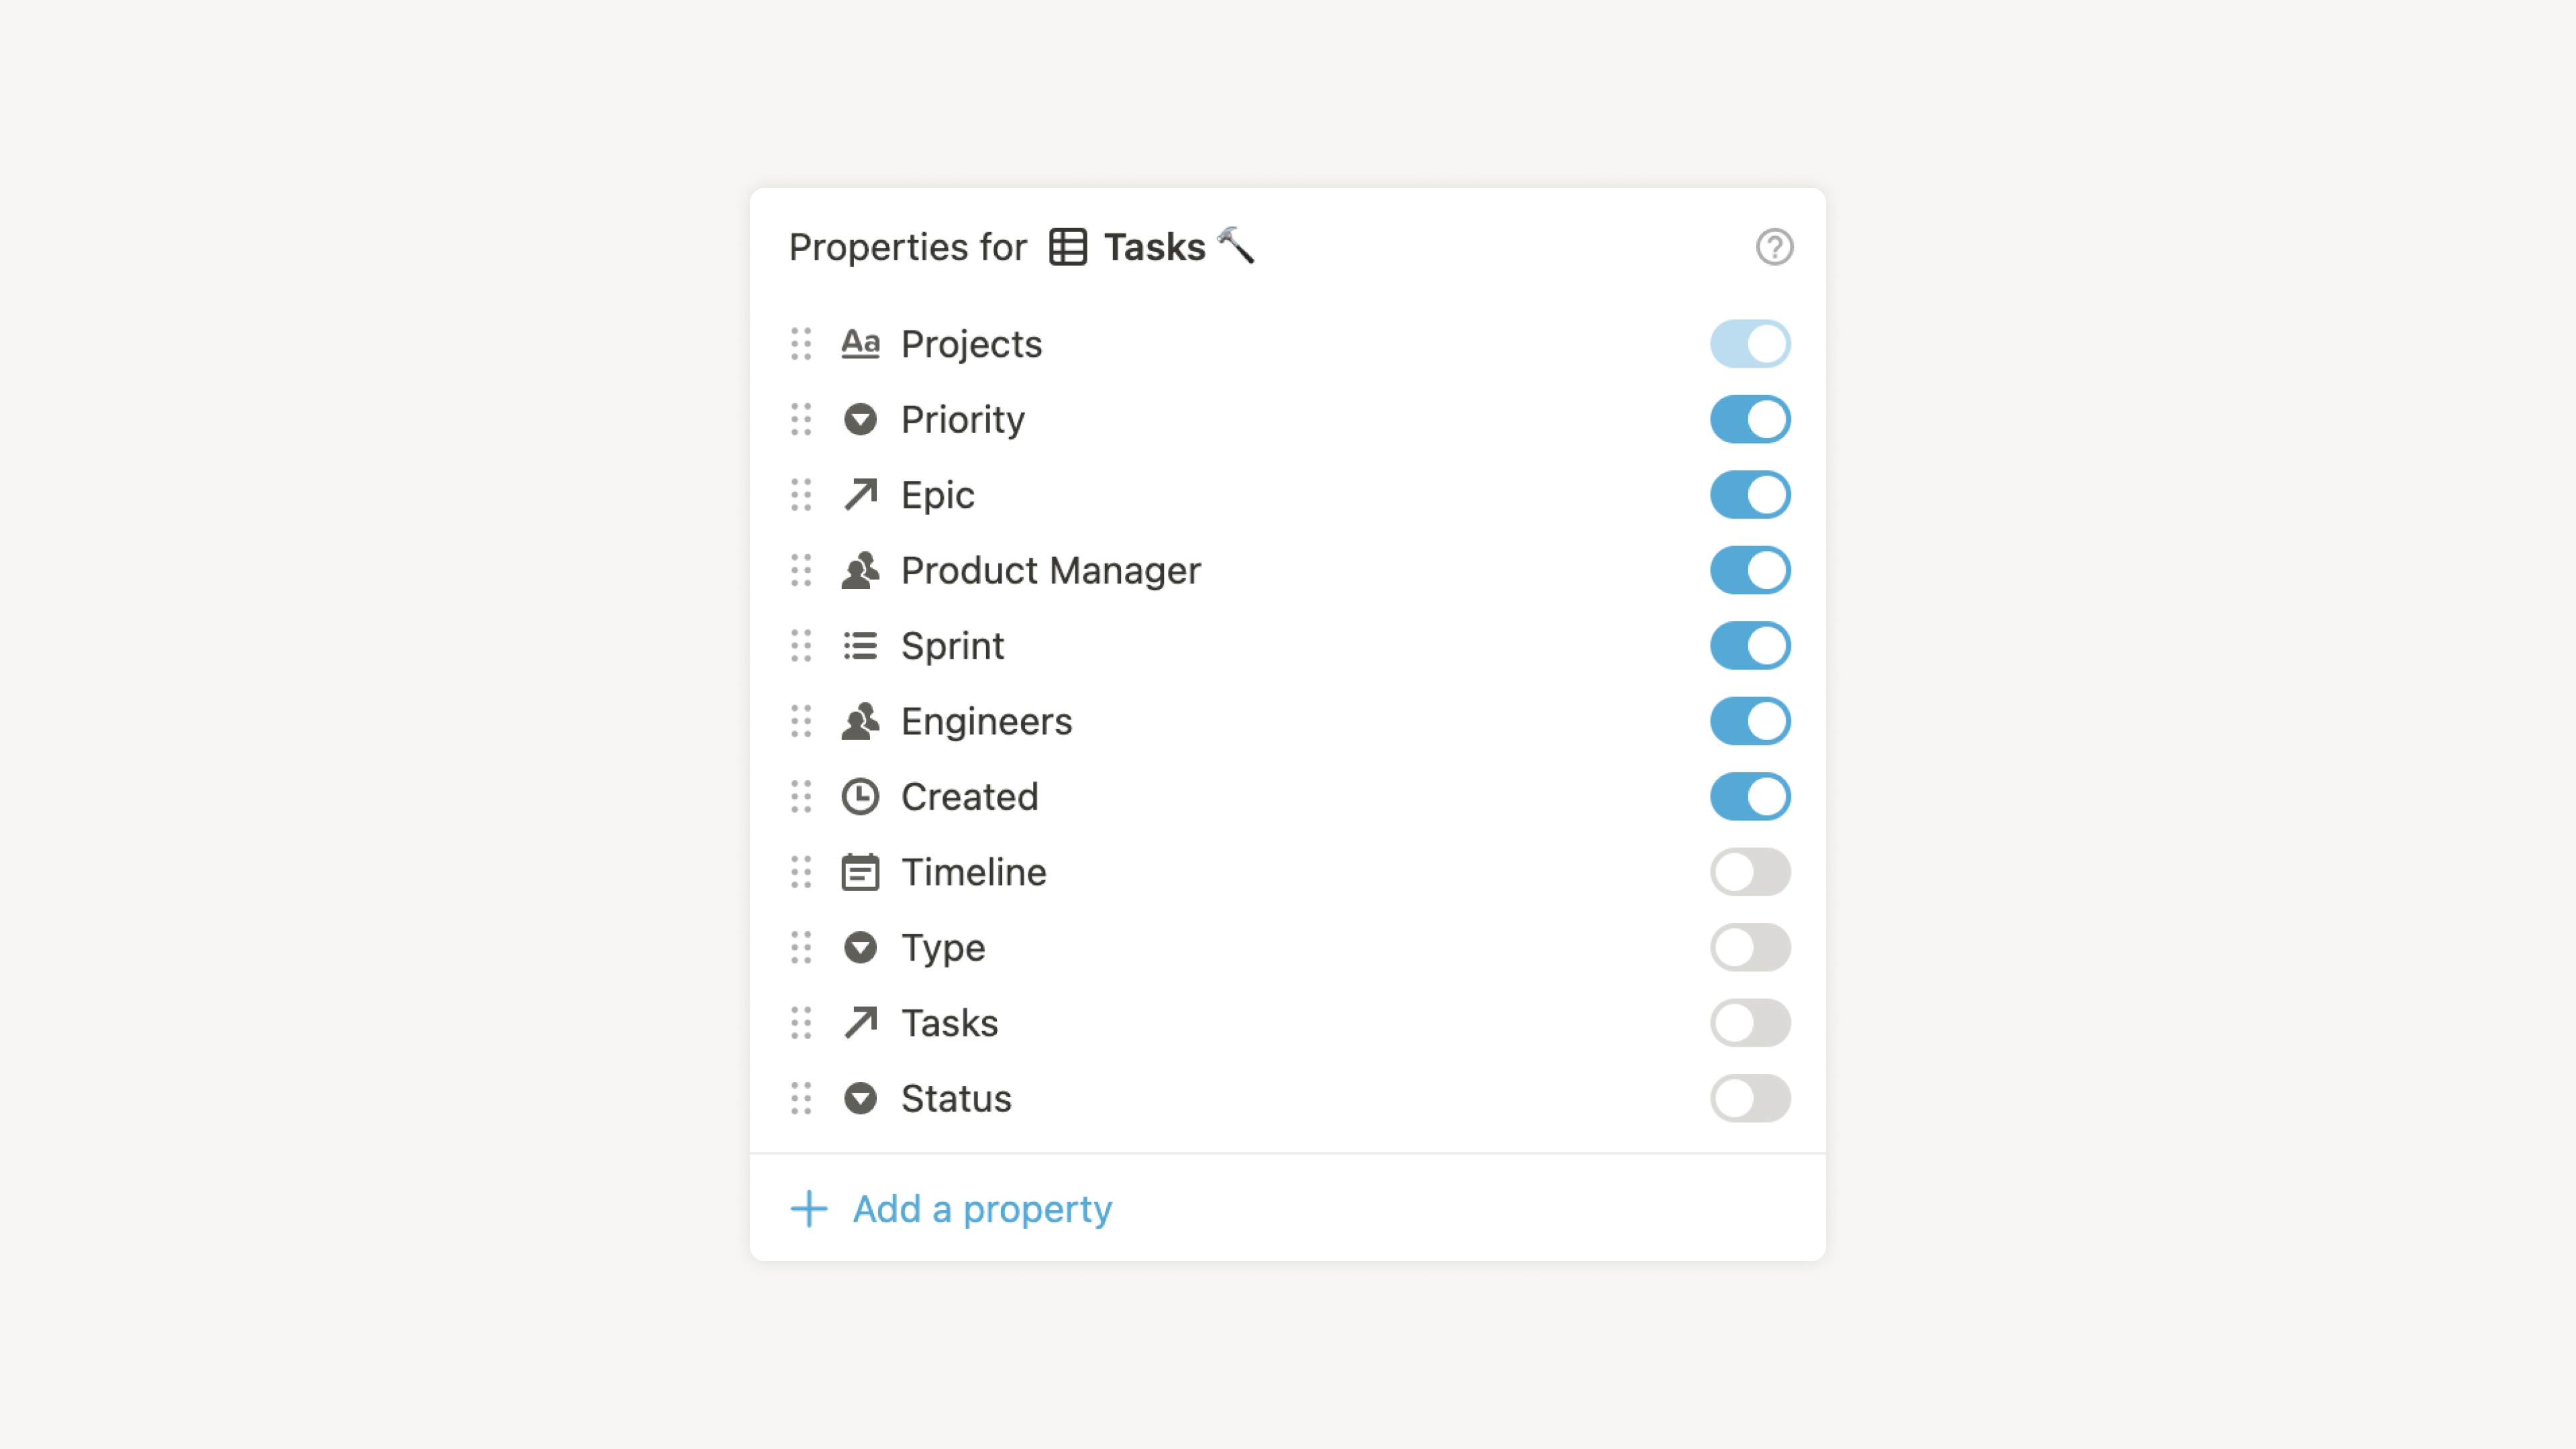
To manage the properties of a database, select ••• at its top right → Properties. From there, you can:
Add a new property: Select
New property, then select a property type and give your property a name.Hide a property: Select the eye icon next to a property you don’t want to show in your database.
Edit a property: Select
⋮⋮. You can rename your property, hide it from view, wrap or don’t wrap it in view, duplicate it, or delete it.Rearrange properties: Drag
⋮⋮to put your properties in a different order.
Any data put into a property is called a value. The way you edit values is different for each type of property. Here are just a few examples:
For
SelectandMulti-selectproperties, you'll be prompted to add tags by typing what you want and pressing enter after each. Colors are randomly assigned.You can add as many unique tags to these menus as you want.
Edit tag names and colors, or delete them by clicking on the property field (i.e. the table cell), then
•••that appears to the right when you hover over any property.Reorder tags by grabbing the
⋮⋮icon to their left and dragging.
For
Dateproperties, clicking to add data will bring up our date picker, where you can select the day relevant to the database item — maybe it's an event date or deadline.Click
Remindto set a reminder in this property that will notify you on the given date and time.Switch on
End dateto define a range of dates in this property.Switch on
Include timeto choose an exact time, not just a day.Click
Date format & timezoneto modify these settings.Click
Clearto remove any value in the date property.
For
Files & mediaproperties, clicking on the field provided will prompt you to upload a file, or paste a link to embed a file.You can also drag a file from your computer into the property to upload it.
You can add multiple files into any field at once.
Click on the
•••to the right of uploaded files toDelete,Download,Full screenorView original.Use the
⋮⋮to the left of uploaded files to drag and re-order them.
In a
Personproperty, you can tag other members or guests in your workspace.Just type their names and press
enterafter each.To delete anyone tagged, click on them, then click
Xnext to their name.
Values automatically appear for these properties:
Created time,Created by,Last edited time,Last edited By.You can simply type or paste values for
URL,Email,PhoneandNumberproperties, just like you would for aTextproperty.Editing values for
RelationandRollupproperties requires multiple steps.