Table view
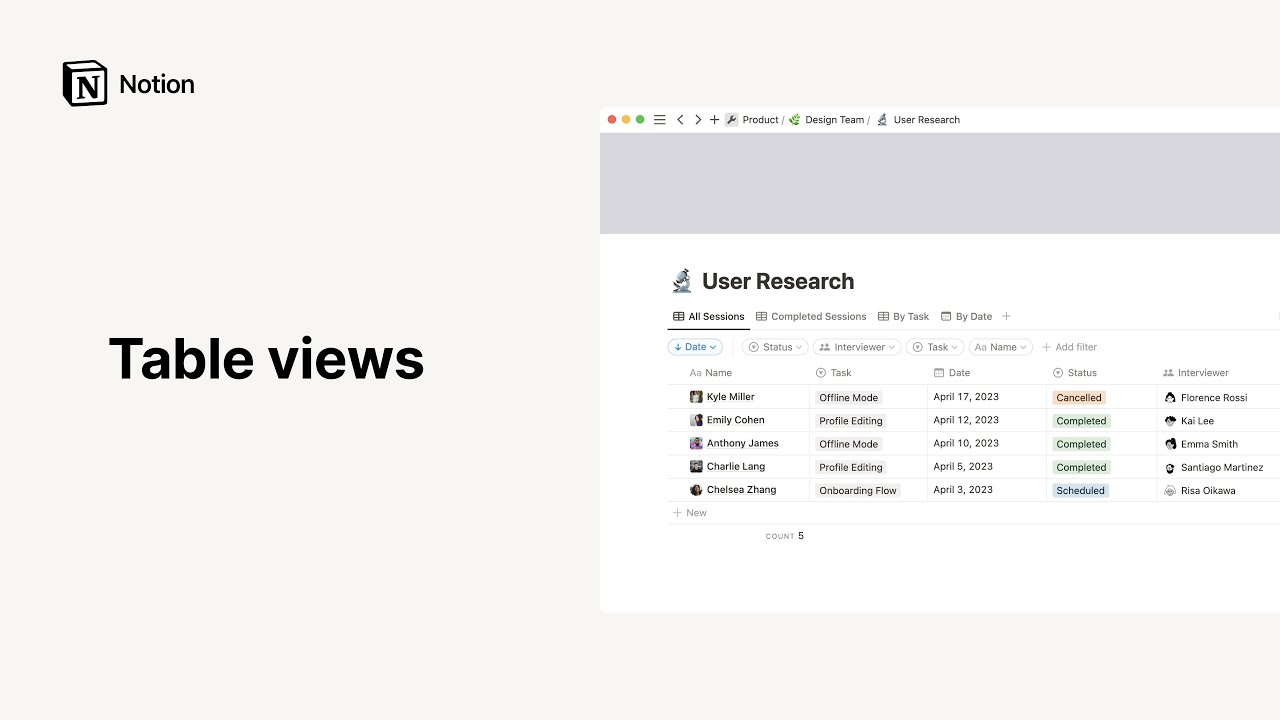
A table is the classic database view, but tables in Notion are more than just rows and columns. Each row opens up into its own page, and can contain whatever properties you want 📊
Gå till vanliga frågorThere are several ways to add a database in table view to Notion:
Create a new page in your workspace.
Under the
Databaseheading, click onTablein the grayscale menu provided.
In-line table
If you want to create a table inside another page:
On a new line, type
/Table viewand pressenter.

Obs: Utöka infogade databaser till helsidor genom att klicka på ⤢ längst upp till höger. Håll muspekaren över databasen för att se menyer med alternativ. Klicka på ••• för att se alternativen Egenskaper, Filter och Sortering.
Add table view to a database
You can add a table to an existing database to view its data in that format.
Click
+ Add a viewor the name of the current view at the top left of your database.Select
Tablefrom the dropdown menu, and give it a name in the text box.Click
Createand your brand new table will pop up.You can still toggle back to other views using that same left dropdown.
Note: You can also create simple tables if you want to display plain text visually without database functionalities (such as filters, sorts, and specific property values).
Open a row as a page
Every row in a Notion table is its own page where you can add more content.
Hover over the row, and click the
OPENbutton.It'll open in preview mode. Click
Open as pageat the top left to make it full-page.You'll see all your properties organized at the top.
Click on the property name to edit it or its type.
Click in the property field to edit its content.
Reorder properties by hovering and using the
⋮⋮to drag and drop them up or down.
You can also add a new property to your timeline by clicking
•••then clickingPropertiesand+ New property.Under properties, there's space for comments that will be attributed to you. You can @-mention people or pages here, too.
The body of the page can be edited just like any other Notion page. Add whatever content blocks you want, including in-line databases.
Customize page
When you open any page, you have the ability to change how it looks in a few ways that go beyond typography and text size.
Click
•••at the top right of any open project page, thenCustomize page.You'll see a menu to edit the appearance of
BacklinksandComments, as well asProperties.For backlinks, choose to show them expanded in the body of your page, in a popover, or off.
For comments, choose to show them expanded or off in the page body.
For properties, rearrange them using the
⋮⋮icon, and choose whether to always show them, always hide them, or only show them when in use.
Add rows
There are several ways to add a new item to your table.
Click the
+that appears on hover next to any row. This creates a new row below it.Click the blue
Newbutton at the top right. This creates a new row at the top, and immediately opens it as a page.Click
+ Newat the bottom of your table to add a new row right there.If you're in the last row of your table, press
shift+enterand a new one will appear.
Row options
Click the ⋮⋮ icon that appears on hover to the left of each row (or right click on the row) to bring up this menu of options:
Delete: Deletes the row from your list.Duplicate: Creates an exact copy of the row below it.Copy link: Copies an anchor link to that specific row to your clipboard.Rename: Lets you rename the page in your row without opening it.Move to: Lets you move the row to another workspace or page (where it will show up as a subpage).Edit property: Brings up a menu with all your table's properties. Click the one you want and then click the new value for it.
Bulk editing multiple rows
You can select multiple rows in order to edit their properties.
Click the checkbox to the left of any row. (Hover in that area to make the checkbox visible.)
To select all, click the checkbox at the very top left of the database, next to the
Titleproperty.
Select a property in the menu that just appeared to edit for all selected rows.

Tips: Du kan tillämpa dessa åtgärder på flera databassidor samtidigt. Du behöver bara välja alla sidor som du vill ändra. Sedan högerklickar du eller använder snabbkommandot cmd/ctrl + / för att redigera flera egenskaper samtidigt!
Edit table properties
In tables, each column is a property of the item in the first column. So, for example, this is a table of articles to read. The article title goes in the first column, while the property columns capture dates, status, tags, and URLs. To edit the properties in your table:
Click the
+all the way to the right of your last column.Or click
Propertiesat the top right of the table, the+ Add a property.Give your column a name and select the type of property from the
Property Typemenu.
Click a column heading to change its name and the type of property it contains.
Hide columns in your table by clicking
Properties, then switching off the properties you don't want shown. Switch them back on the same way.
Rearrange columns & rows
Switch up how your table is ordered with drag-and-drop on desktop or browser.
For rows, hover, then click and hold the
⋮⋮icon on the left to drag it up or down.For columns, click and hold their headings to drag them left or right (like below).
Resize columns by hovering over their edges, and dragging right or left.
Tip: You can also rearrange your columns by clicking Properties at the top right, then using the ⋮⋮ icon next to the properties shown to drag them up or down.
Wrap cell content
If your cells contain a lot of content, you can have it appear on multiple lines.
Click on the
•••icon at the top right of your table, clickLayouttoggle onWrap all columns.Or to wrap a single property, click at the top of a specific column and toggle on
Wrap column.
Calculations
At the bottom of every column in your table, you can run calculations that will show you information about the data contained in that column.
Hover below the last row in your table, then click the word Calculate that appears under any column you want to learn more about:
You'll see a dropdown menu containing these calculation options:
Count all: Gives you the total number of rows in the column.Count values: Counts the number of property values contained in the column.Count unique values: Counts the number of unique property values contained in the column, omitting duplicates.Count empty: Counts the number of rows that do not have a value in the column.Count not empty: Counts the number of rows where the column is filled.Percent empty: Gives you the percentage of rows that do not have the chosen property filled in.Percent not empty: Gives you the percentage of cards that do have the property filled in.Earliest date: If you have time-related properties in your table likeLast editedorCreated time, you can choose to show when the oldest row was edited or created.Latest date: Shows when the newest row was last edited or created.Date range: Shows you the time gap between the oldest and newest edit or creation time.
If you have a
Numberproperty in your table, you unlock several other calculation options:Sum: Shows the sum of the numbers in the column.Average: Shows the average of the numbers in the column.Median: Shows the median of the numbers in the column.Min: Shows the lowest number in the column.Max: Shows the highest number in the column.Range: Subtracts the lowest number from the highest.
Grouping
You can group your rows by different properties on your table to visualize them in different ways.
Click the
•••menu and find theGroupsection. You can group by nearly any property type: Select, Multi-select, Person, Text, Number, Date, etc.The table will now group by values of that property. Each group includes a toggle to the left, so you can quickly hide and show groups to focus on what you need.
Empty groups can also be hidden from view with the "Hide empty groups" toggle.
Tables in timeline view
When showing table in your timeline, click the ⋮⋮ icon that appears on hover to the left of each row (or, if you're not showing table, right click on any project plotted on your timeline) to bring up this menu of options:
Delete: Deletes the row from your timeline.Duplicate: Creates an exact copy of the row below it.Copy link: Copies an anchor link to that specific row to your clipboard.Rename: Lets you rename the page in your row without opening it.Move to: Lets you move the row to another workspace or page, where it will be nested as a subpage.Edit property: Brings up a menu with all your timeline's properties. Click the one you want and then click the new value for it.
Filter your table
View only the rows that fit certain criteria, depending on what you need.
Click
Filterat the top right of your table.Choose which property you want to filter by from the dropdown.
Choose the condition you want to use, i.e.
Contains,Does not Contain, etc.Define the value of the property you want to see, i.e. a specific tag or date.
You can add multiple filters at once this way too!
Remove filters by clicking the
Xicon next to them in theFiltermenu.
Tips: Om du kommer på dig själv med att återskapa och radera samma filter om och om igen kan du överväga att skapa en ny databasvy för det filtret. Det gör att du kan växla fram och tillbaka utan att behöva skapa filtret igen varje gång.
Sort your table
When you sort your data by any property in Ascending or Descending order, all the data from that row will travel together automatically.
Click
Sortat the top right of your table.Choose the property you want to sort by and then choose
AscendingorDescending. You'll see your table rearrange in real-time.You can add multiple sorts to a table, with sorting criteria taking precedence based on their order in the list. (You can use the
⋮⋮to drag and drop them up or down.)Remove sorts by click the
Xicon next to them in theSortmenu.
Search your table
You can search for specific content in your table.
Click
Searchat the top right and type the word(s) you're looking for in page titles or properties.You'll see your table change in real-time to only show the rows that fit that criteria.
Link to your table
You can copy an anchor link to this specific view of your table so you can share it elsewhere.
Click the
•••icon at the top right of your table.Click
Copy link to viewand the URL will copy to your clipboard so you can paste it.

Templates: Table view use cases
Here are some use cases for tables from our team and the Notion community:
Vanliga frågor
Går det att lägga till bakgrundsfärger till specifika celler? Eller villkorlig formatering?
För tillfället går det inte, tyvärr. Det är dock en mycket efterfrågad funktion, så det är definitivt något vi vill lägga till i framtiden! För tillfället kan du använda välj- och flervalsegenskaper för att lägga till lite färg till din tabell.🎨
Varför kan jag inte radera egenskapen Namn?
Våra tabeller liknar inte alls traditionella kalkylblad eftersom varje rad representerar en databaspost som kan öppnas som en egen sida eller visualiseras i andra databasvyer. Egenskapen Titel ger dig åtkomst till databassidor. Med det sagt kan du dra kolumnen åt vänster eller höger för att ändra ordningen på den som du vill!
Finns det något sätt att hoppa över den modala vyn och alltid öppna som en sida som standard?
Inte just nu, tyvärr!
Har Notion några enkla tabeller (icke-databas)?
Hur kan jag se vilka sidor i databasen som innehåller kommentarer?
Om du lägger till en kommentar i diskussionsavsnittet på en tidslinjeprojektsida, eller någonstans i sidans textdel, visas en ordbubbla i den raden i tabelldelen av tidslinjen tillsammans med det antalet kommentarer som den innehåller. Om du döljer tabellen kan du inte snabbt se om projekten innehåller kommentarer.
Hur omvandlar jag en helsidedatabas till en infogad databas?
Om du vill göra om en helsidedatabas till en infogad databas kan du dra databasen till en annan sida i sidofältet, vilket gör om den till en undersida.
Sedan klickar du på ••• -knappen till höger om rubriken på undersidan och går till Omvandla till infogad i listrutan för att göra om den till en infogad databas.
Om du vill återställa den till en helsidedatabas igen kan du klicka och dra den infogade databasen till sidofältet.
Hur omvandlar jag en befintlig databas med en tabellvy till en enkel tabell?
Klicka på ••• längst upp till höger och klicka på "Omvandla till enkel tabell".
Observera att det här alternativet inte visas om databasen har flera vyer, innehåll i databassidor, hundratals rader, avancerade egenskaper som bifogade filer, eller om du använder en helsidevy.