For the training, we are going to install the universal forwarder in the default configuration. Our goal is to send Windows logs to Splunk.
- Go to the Windows computer
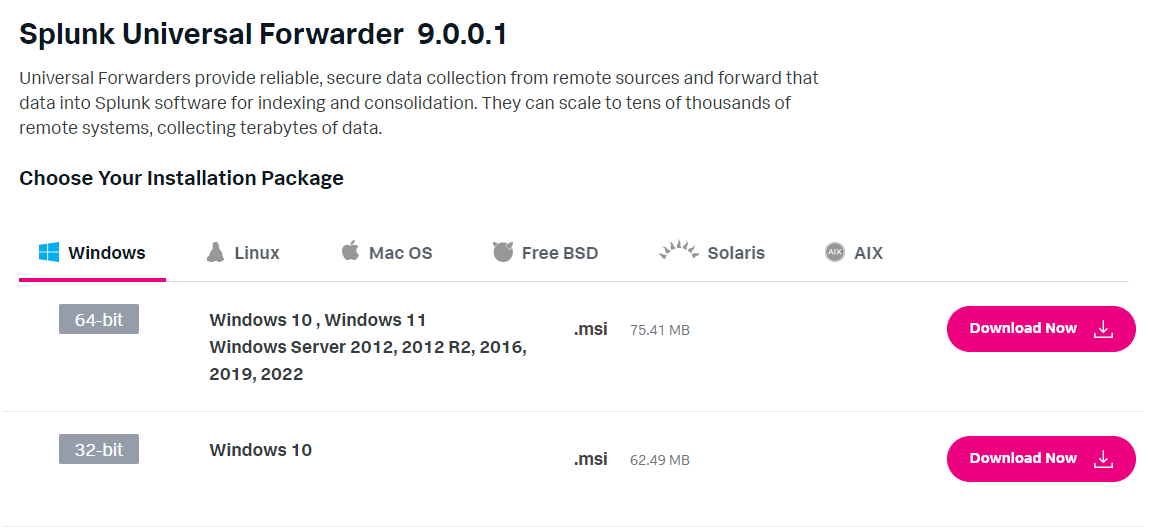
- Download the setup file
- Read the Splunk General Terms - Download the MD5
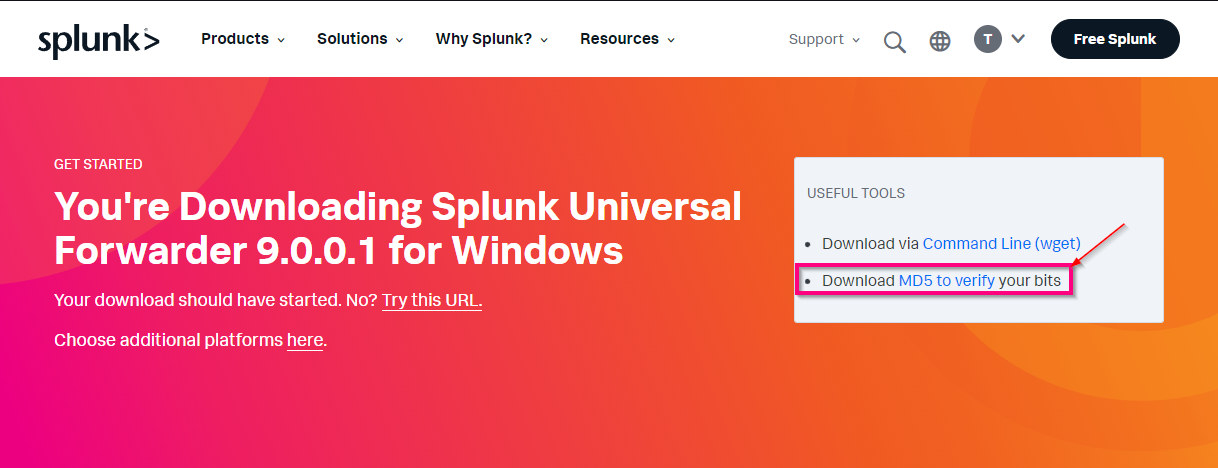
- Open the md5 file to have the checksum: at this time is: 83a09c64537832701320609e665e3e7
- Check your MD5 with this PowerShell command "Get-FileHash .\splunkforwarder-9.0.0.1-9e907cedecb1-x64-release.msi -Algorithm md5" to confirm you've got the right installer.

Launch the setup
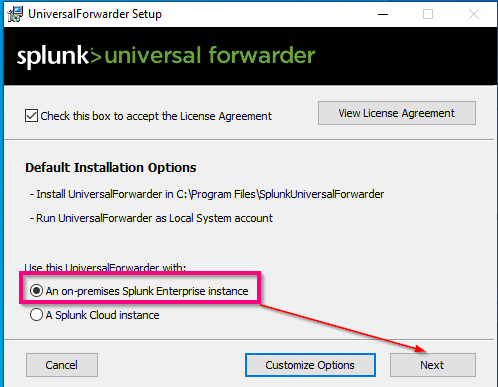
Read the Licence Agreement
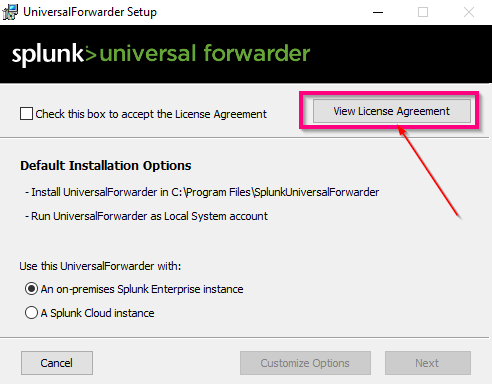
Accept the Licence Agreement
Select "an on-premises Splunk Enterprise instance" because we have to install Splunk on an on-premise server.
Once again, we use the default configuration. Maybe in your company, you will use a service account to run the Universal Forwarder.
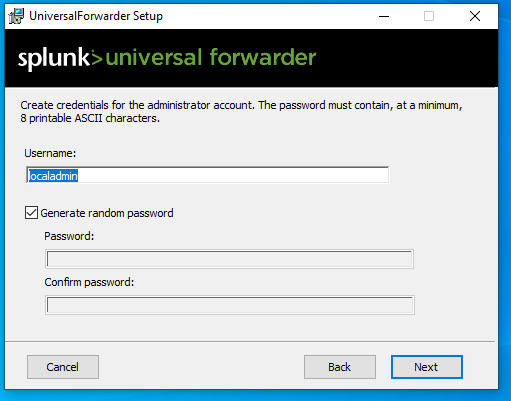
- Give a username to Universal Forwarder.
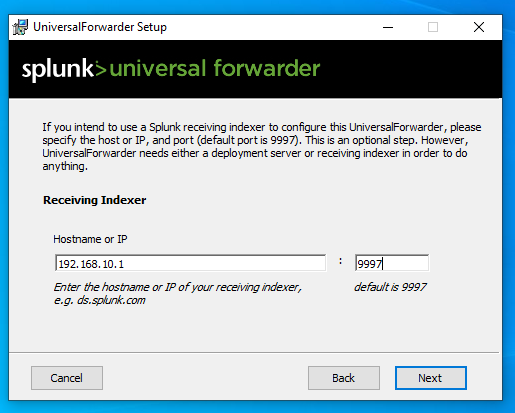
- Give the server IP or Hostname and the port to the receiving indexer. I use the IP because I have no DNS in my lab. We don't have to change any configuration during Splunk installation so the port used is 9997