Install Prestashop Custom API Go to Dashboard > Modules > Module Manager > Upload a module. Select the module ‘PrestashopAPI.zip’.
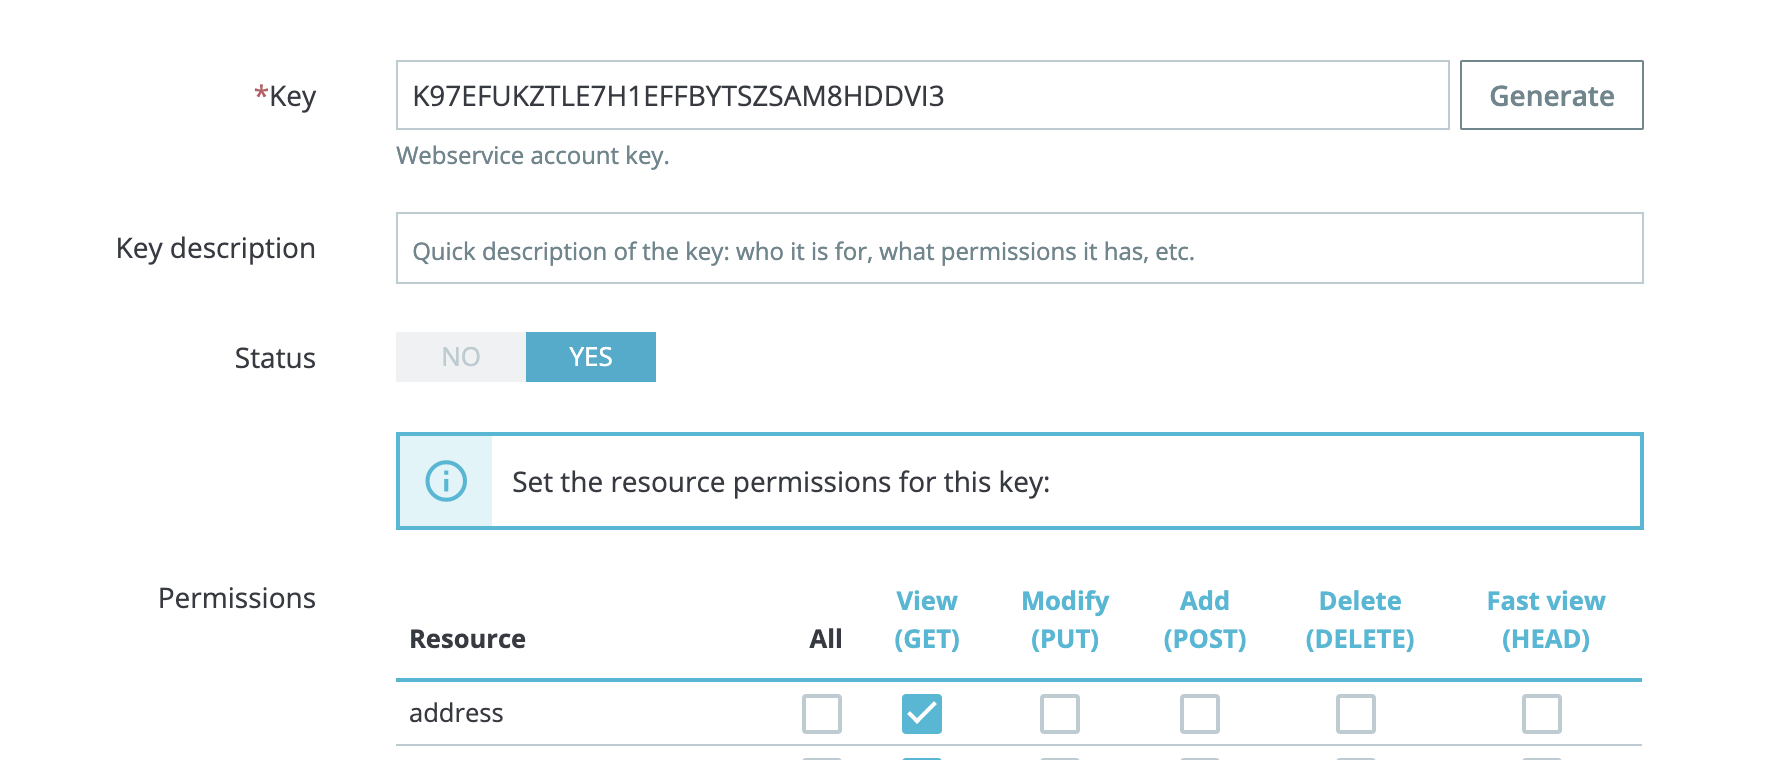
Create a new webservice keyGo to Dashboard > Advanced > Webservice > Add a new webservice key. Generate your key and select permissions. Click the Save button after finishing the settingsThere is a list of required permissions with the method GET: categories, products, product, product_options, product_option_values, languages, attribute, countries, shipping, payment, order_states, addresses, orders, register, signin, countries, states, order_histories, address, cart_rules
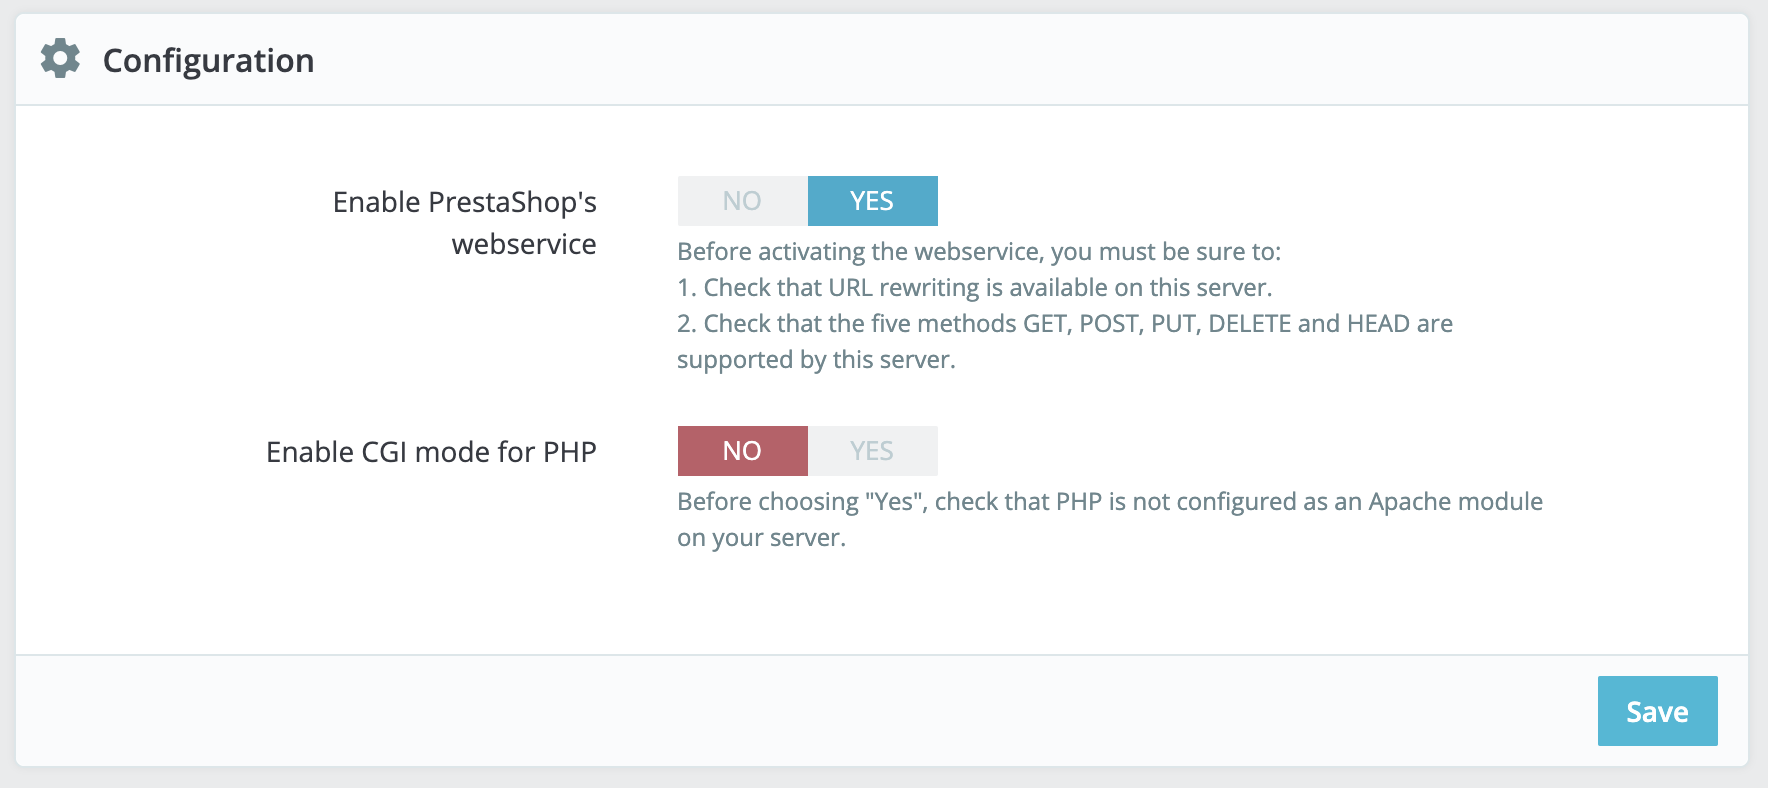
Enable WebserviceBy default, the webservice feature is disabled on PrestaShop and needs to be switched on before the first use. Go to Dashboard > Advanced > Webservice. Choose “Yes” for the “Enable PrestaShop Webservice” option and click the Save button
That’s all 🙂