<aside>
<img src="/icons/list-indent_lightgray.svg" alt="/icons/list-indent_lightgray.svg" width="40px" /> Click on a link below to skip down to that spot in this checklist.
</aside>
<aside>
<img src="/icons/info-alternate_blue.svg" alt="/icons/info-alternate_blue.svg" width="40px" /> These steps are very similar for both Blog & Event types of collections page entries.
</aside>
Creating New Posts
Option 1 - start fresh with a blank post
Option 2 - duplicate a pre-structured draft as a template
Event Post Settings
- TIP: You can access this menu from INSIDE the blog post any time, from the left information sidebar (click on the date/time text) or the post title in the top of the Edit menu bar across the top of the screen.
CONTENT
- [ ] Add an event post thumbnail, if you want one
- shows up in the main event page's feed, summary blocks that show recent posts elsewhere on the website, etc
- You can upload one, or choose one from your asset library by clicking "Search for Images"
- [ ] ALWAYS check/update the post URL slug
- use keywords or phrases with DASHES for spaces, such as
/events/**blog-post-settings**
- anytime you duplicate a post, this URL slug will be the same as the original, with alphanumeric nonsense after it, such as
/events/**previous-post-slug-a3bd8**
- anytime you create a new post, the post slug may be ONLY alphanumeric nonsense, like the pictured example below:
/events/**template-z0mh8yfvvtty9vafyo2meagc9rr6sh**
- [ ] Add the Excerpt for event posts;
- without one, the event page often shows the content inside the post which makes the feed get messy &/or overwhelming
- [ ] Check the Author; this will automatically be the website owner, but if more than one person has access permissions to your site, you may want to adjust who added this post
- [ ] Source URL
- This is a great place to link a sales page, registration link, etc
- This link –if used– is where you want the post title or thumbnail image to redirect to when clicked from Summary Blocks or blog home page feeds. Can be an internal link (on your site) or an external link (on someone else’s site).
<aside>
<img src="/icons/info-alternate_blue.svg" alt="/icons/info-alternate_blue.svg" width="40px" /> Double click on any image to see larger.
</aside>


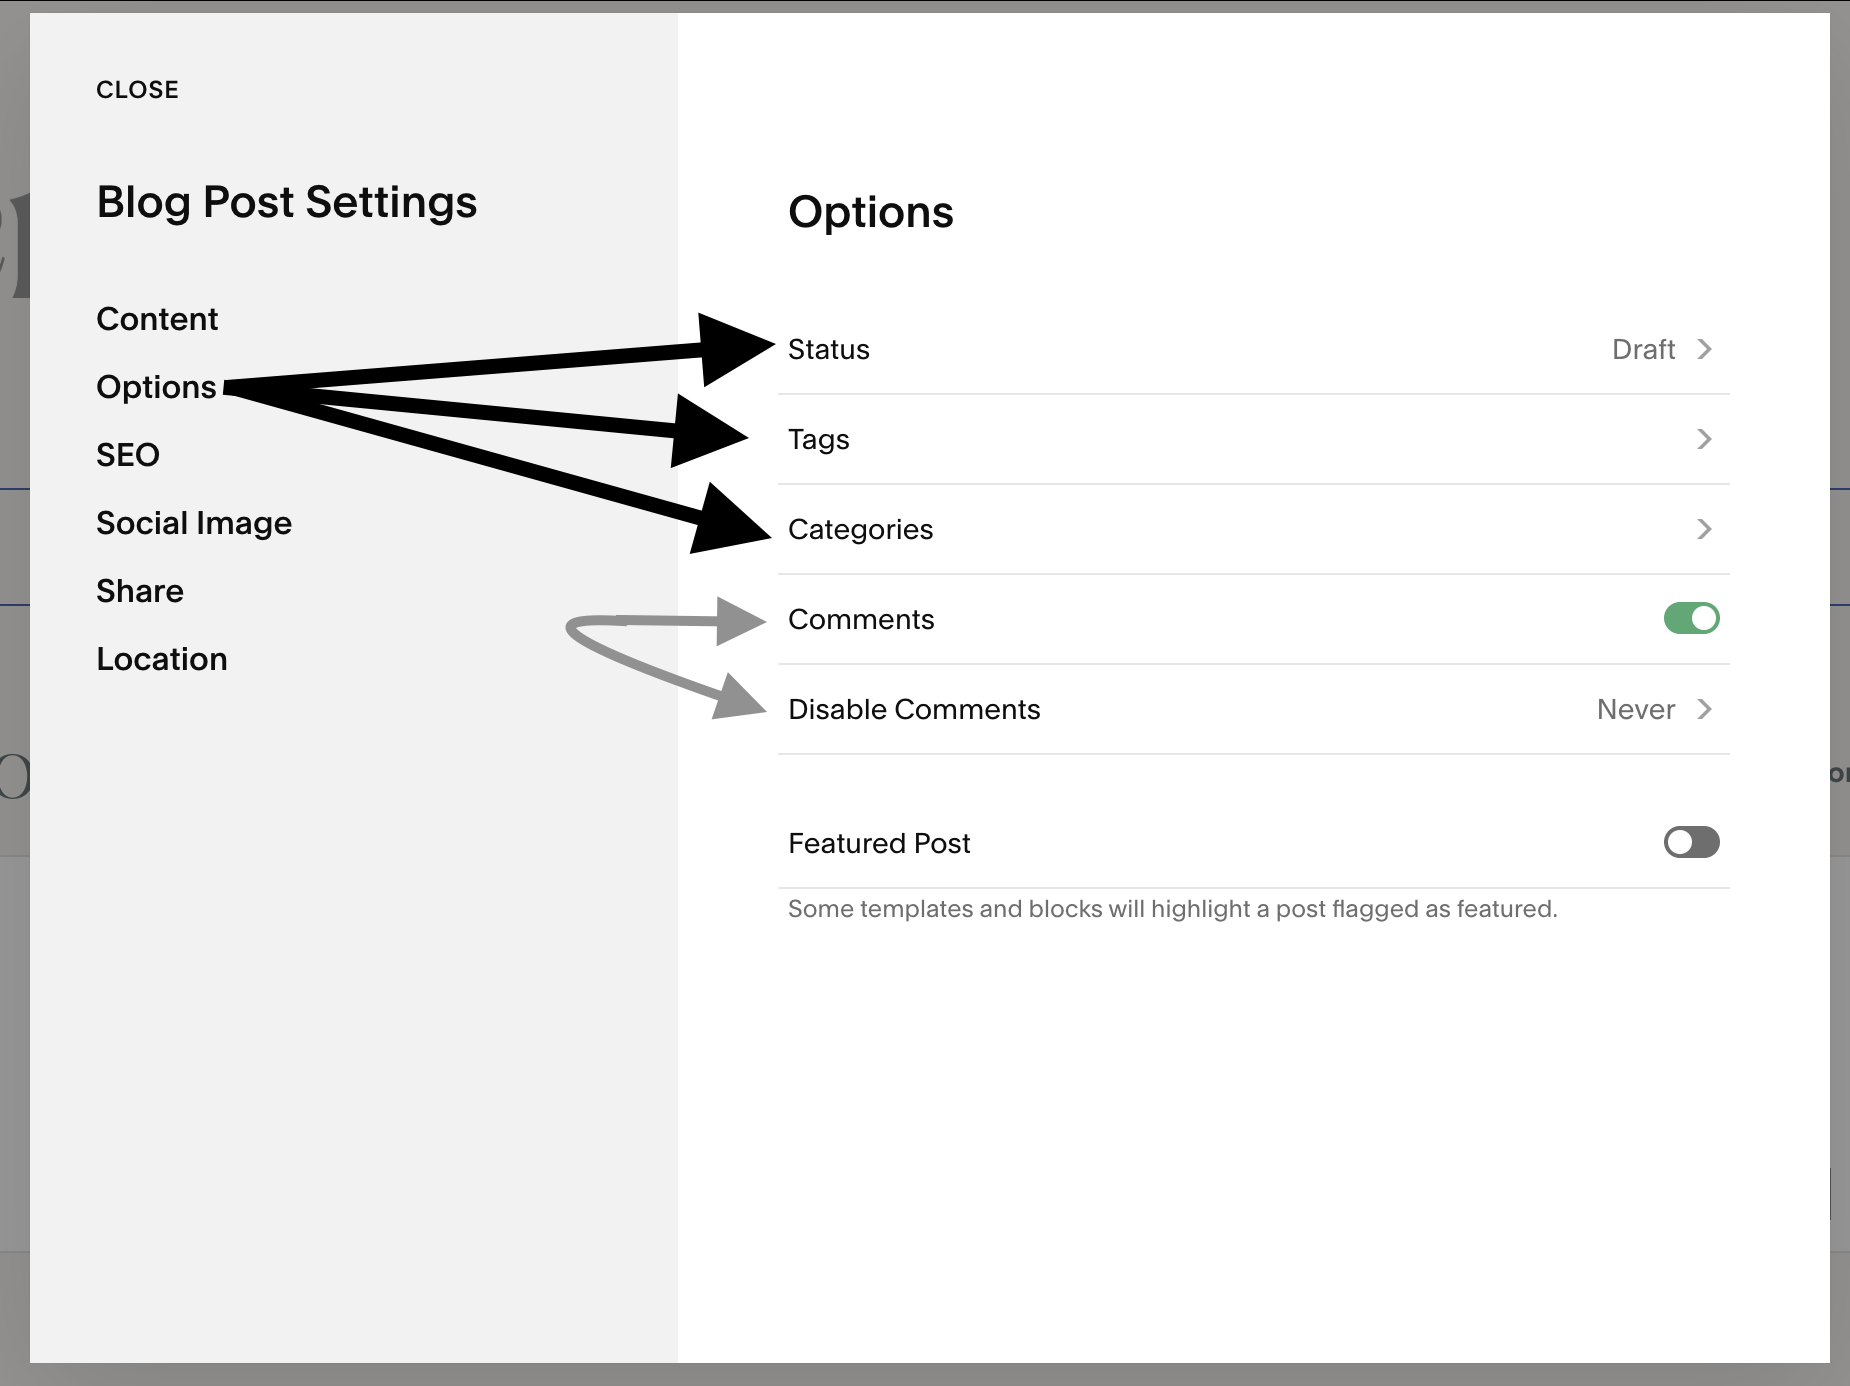
OPTIONS
-
[ ] Change Status when you're ready, to:
- Draft (default for all new posts)
- Scheduled (pick a date/time, then Squarespace will auto publish it for you)
- Needs Review (a Draft with a noticeably different label that reminds you to review the post before publishing)
- Publish (will be "live" immediately)
-
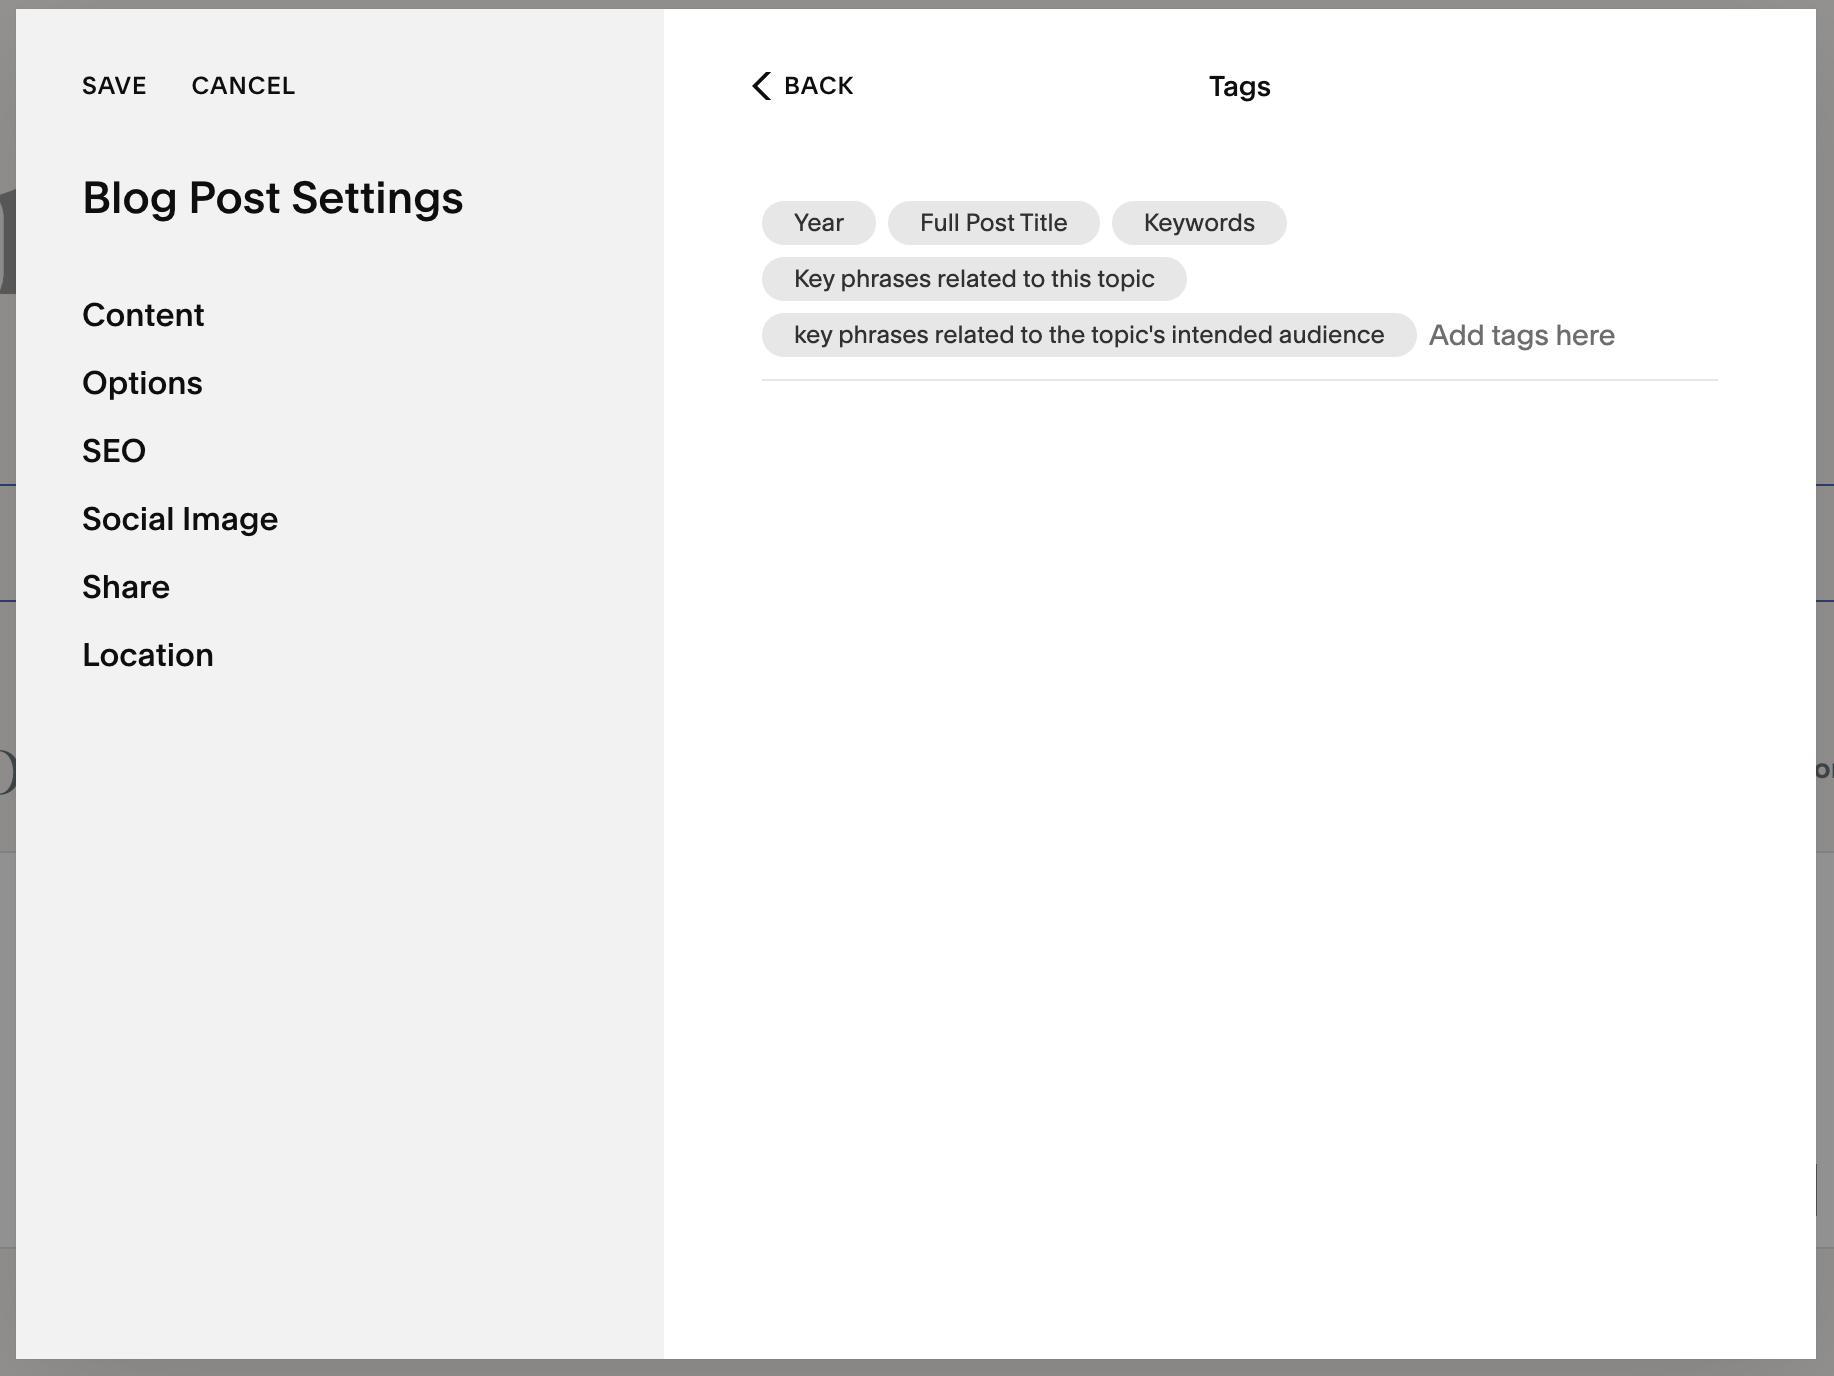
[ ] Set the Tags: there's no limit to how many you can use, they work like Hashtags on social media (with needing the hash symbol #); I typically always add these 5 different types of tags 👇🏻
- Year, ie: 2022
- Full post title, and maybe alternate titles or phrases, ie: How to Create New Blog Posts on Squarespace: a checklist
- keywords related to the post topic, ie: blogging, squarespace, new blog post, checklist, diy website
- key phrases related to the post topic, ie: blogging on squarespace, how to create a new blog, new blog checklist
- key phrases related to your intended audience, ie: online business owners, photographers, solopreneurs, etc
Same applies for Events
- [ ] Set the Categories: there's no limit that I know of, but I'd stick to using between 1-3 per post
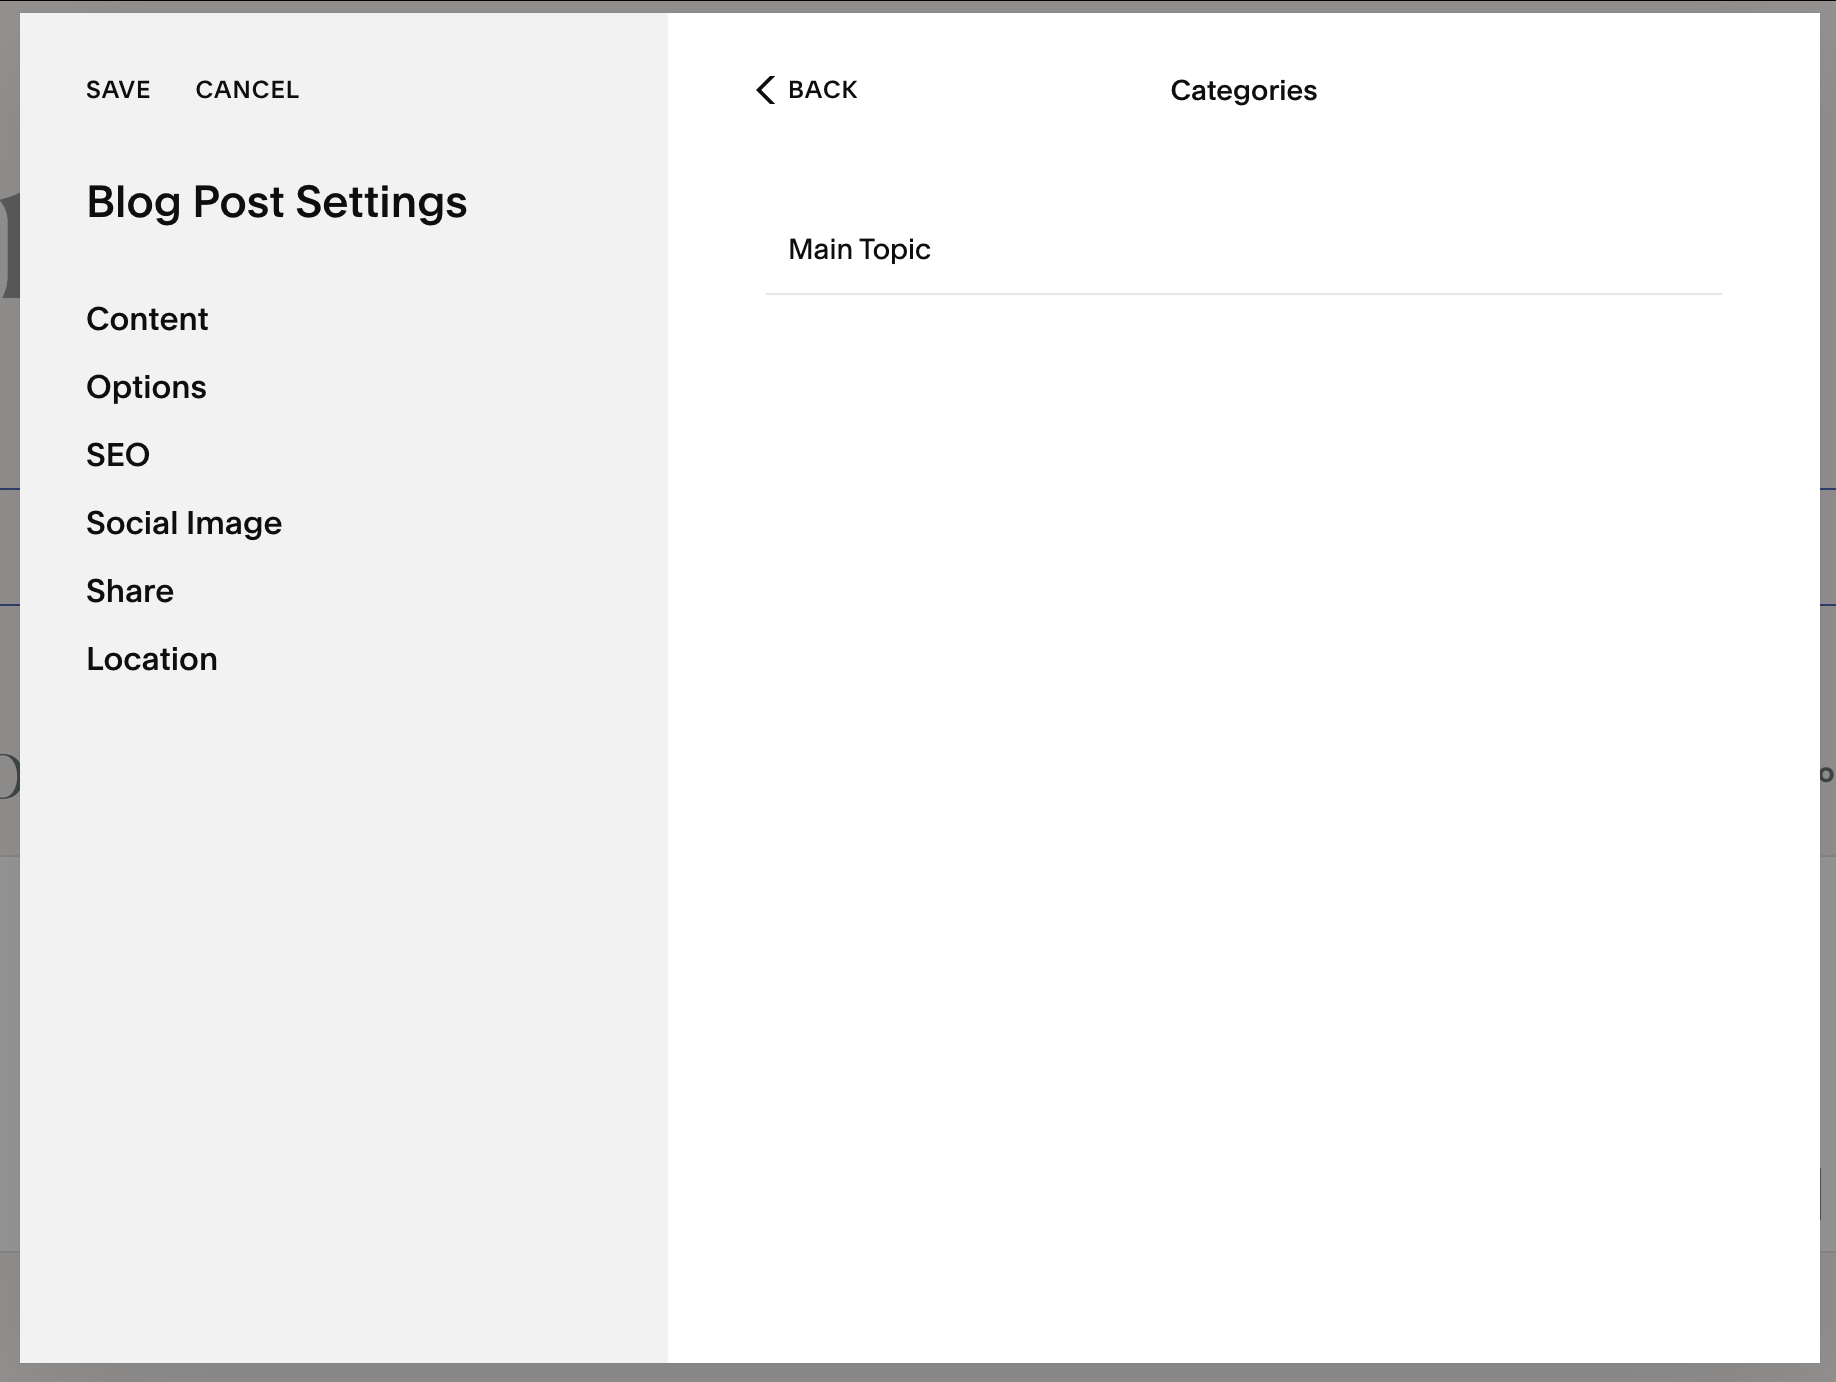
Same applies for Events
- [ ] Choose your Comment settings
- When the toggle is green, a comment box will be at the bottom of the post.
- This toggle only affects this particular post; it's not a global setting.
- If I haven't done this for you during our project, you can turn Comments on for all blog collections in
Settings < Blogging < Comment Settings
Same applies for Events
SEO