
https://www.howtogeek.com/769894/how-to-install-google-and-microsoft-fonts-on-linux/#autotoc_anchor_1
Credit: Rawpixel.com/Shutterstock.com
Are the preinstalled fonts on your Linux distribution missing that certain flair? You can easily customize your desktop's typography by adding and configuring fonts, including those owned by Microsoft and Google.
To add one of Google's open-source fonts, you have two options: downloading directly from the Google Fonts website, or using a graphical installer called TypeCatcher. The website method is more straightforward and reliable but involves a little bit of command line work. You might feel more comfortable with TypeCatcher, but depending on your distribution, it may not be easy to install.
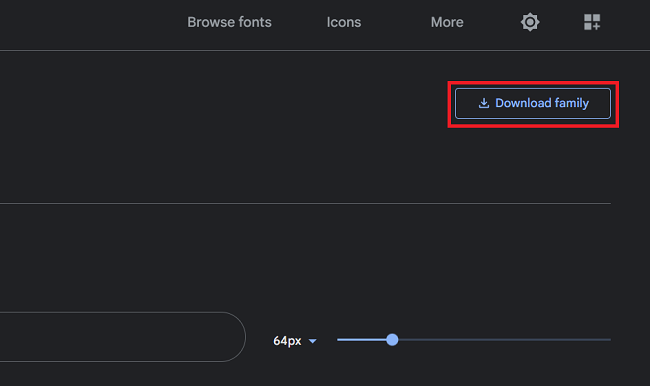
First, head over to the Google Fonts site and select the font family you want to install. Download the font archive by clicking the "Download Family" button located in the top-right corner.
Launch the terminal and create a new directory to store the downloaded fonts. Then, navigate to the newly-created folder using the cd command.
sudo mkdir /usr/share/fonts/googlefonts && cd /usr/share/fonts/googlefonts
Unzip the archive to the newly-created folder using the unzip command. Make sure to replace FontArchive.zip in the command below with the name of the archive you just downloaded.
sudo unzip -d . ~/Downloads/FontArchive.zip
Register the fonts on your system with the fc-cache command.
sudo fc-cache -fv
Then, verify if the new font was successfully added by running:
fc-match FontName
Don't forget to replace FontName with the name of the font that you added. For example, if you downloaded the Loto Sans font, the aforementioned command will become fc-match LotoSans.
If the output displays the name of the font---Loto Sans, for example---then the font was successfully added to the system. In case the font name in the output is different, consider going through the installation steps again.